Service Manager powered by HEAT
Configuring the List Control
•Placing the List Onto the Form
Placing the List Onto the Form
1.Log in to the application as a service owner.
2.Open a request offering.
3.Click the 2. Design Request Form tab.
4.Drag the List control from the right pane onto the form. See Working with Request Offerings
5.Click in the title area (such as List 1) and enter a label for the list.
6.Click in the description area and enter a description for users.
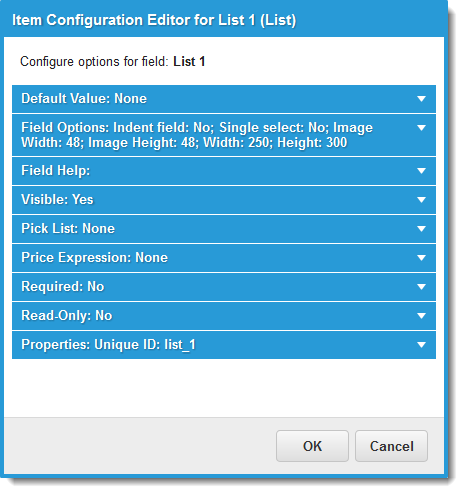
7.Click the edit icon  next to the label. The system displays the Item Configuration Editor.
Request Offering - Item Configuration Editor
Creating a Custom List
You can create a pick list based on a custom list of items that you define. You can associate each custom list item with an image so that an item's image displays when a user selects the item.
1.Log in to the application as a service owner.
2.Open a request offering.
3.Click the Design Request Form tab and then click the edit icon .
4.In the Item Configuration Editor, expand the pick list area.
Item Configuration Editor - Pick List Area
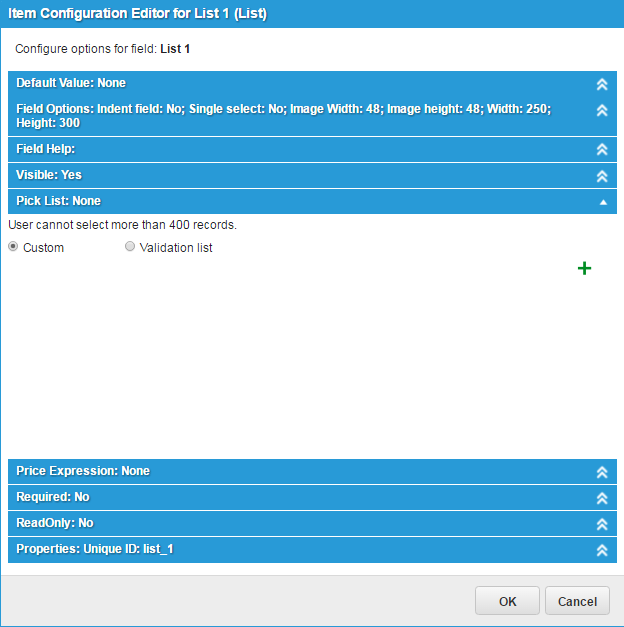
5.Choose Custom, then click the Add icon  . The system displays the option fields.
6.Enter information into the fields.
| Field | Description |
|---|---|
| Option name | The name of the item to appear on the pick list. |
| Price | Optional. A price for the item. |
| Image file | Optional. An image. Select from the drop-down list. Images are available only if you have already added them to the attachment repository through the Form Designer Tools Attachment tab. See Specifying Image Details below. |
7.Repeat to add more list items as needed.
8.Click OK to dismiss the window and continue configuring the request offering.
Creating a Validation List
You can create a pick list generated dynamically based on a validation list. You can use various fields associated with the validation object to enhance the list and not just the description field.
1.In the Item Configuration Editor, expand the pick list area.
Item Configuration Editor - Validation List

2.Choose Validation list. The system displays the validation fields.
3.Enter information into the fields.
| Field | Description |
|---|---|
| Validation list to use | The validation list. Select from the drop-down list. |
| Price Field | Contains the price for the item, if any. See Service Manager powered by HEAT for more details. |
| Recurring price field | Contains the recurring price for the item, if any. See Service Manager powered by HEAT for more details. |
| Title Field | Contains the title of the item, if any. |
| Description Field | Contains the description of the item, if any. |
| Image field | Contains the image of the item, if any. |
| Cascading Validation Definition | Assigns parameter values, if your validation list contains constraints. |
| Additional fields | Additional fields. |
| Business Object | The business object containing the field to add. |
| Field Name | The field to add. |
4.Repeat to add more items as needed.
5.Click OK to dismiss the window and continue configuring the request offering.
Specifying Image Details
When you use the image control to display an image as a field, you can specify a file to use for a static image or a field on the current form to use as the basis for a dynamically generated image. You can also specify image height and width, and whether it has a border.
1.Open the Item Configuration Editor for an image control and expand the Field Options area.
Item Configuration Editor - Field Options
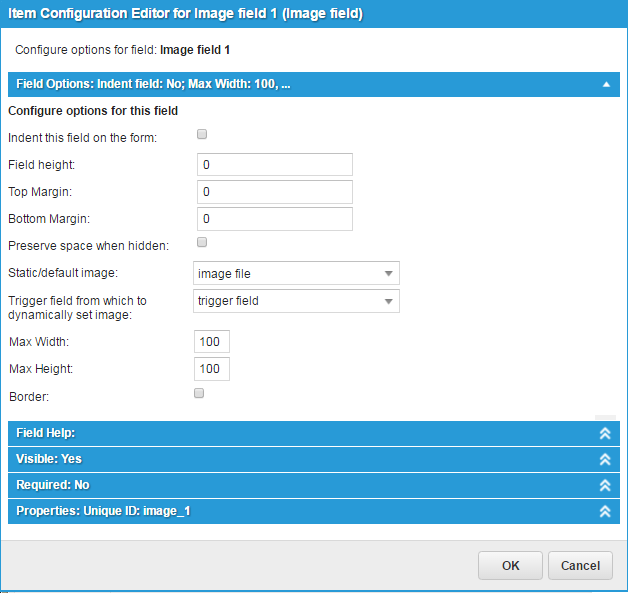
2.Specify static or dynamic image options as follows:
•Static image: Select an image file from the drop-down list in the Static/default image field. Images are available only if you have already added them to the attachment repository through the Form Designer Tools Attachment tab.
•Dynamic image: In the Trigger field from which to dynamically set image field, select the field from the current form that determines which image file is used.
The drop-down list in this field is based on one or more pick lists that 1) are defined in drop-down list controls on the current request form, and 2) are configured to use images. At least one such pick list must exist on this form for the field described here to display a populated drop-down list.
3.Specify image dimensions (in pixels) in the Max Width and Max Height fields. These fields can have a maximum value of 250.
4.Select whether the image has a border.
5.Click OK.
Was this article useful?
The topic was:
Inaccurate
Incomplete
Not what I expected
Other
Copyright © 2017, Ivanti. All rights reserved.